# Program Paper Size Setup
#### **Overview**
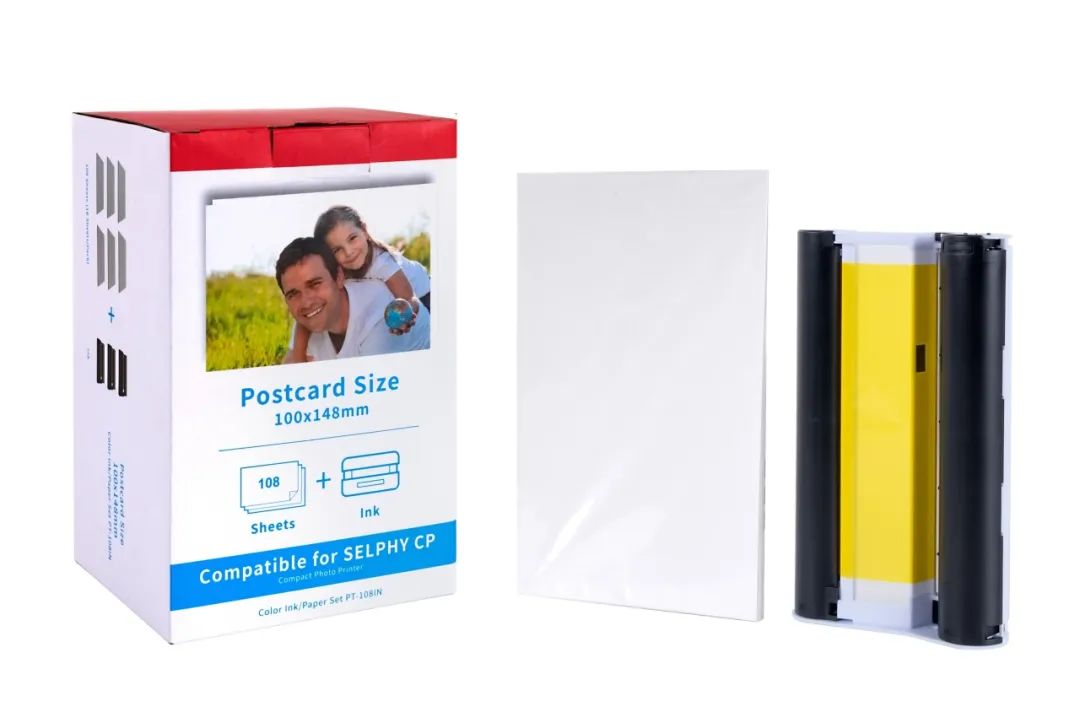
The Canon Selphy CP1300 uses a **postcard-sized** paper format measuring **100 x 148 mm (3.94 x 5.83 inches)**.
This size is standard for dye-sublimation printing and **includes a perforated border** that is trimmed after printing.
[](https://wiki.setinum.com/uploads/images/gallery/2025-02/ef7c926d-f343-4148-8194-33162f132582.jpg)
#### **Setting Up Adobe Illustrator**
1. **Create a New Document:**
- Open Illustrator and go to **File > New**.
Set the following options:
```
Width 100mm
Height 148mm
Color Mode RGB
Raster Effects High (300ppi)
```
2. **Set Bleed & Margins (Optional):**
- Since the Selphy trims the edges, consider adding **1 mm bleed** on all sides (**102 x 150 mm total**).
- Define margins for safe zone content (**5 mm inside the edges**).
3. **Export Settings:**
- Go to **File > Export > Export As** and select **JPEG or PNG**.
- Set resolution to **300 ppi** and ensure the **Color Profile is sRGB**.
- Click **Export**.
#### **Setting Up Inkscape**
1. **Create a New Document:**
- Open Inkscape and go to **File > Document Properties**.
- Under the **Custom Size** section, set **Width** to **100 mm** and **Height** to **148 mm**.
- Change **Units** to **mm**.
- Close the properties window.
2. **Enable Bleed & Guides:**
- Add **1 mm bleed** by setting the document to **102 x 150 mm** if needed.
- Go to **View > Guides** and drag safe-zone guides (**5 mm inside edges**).
3. **Export Settings:**
- Go to **File > Export PNG Image**.
- Set **DPI to 300** for high-quality output.
- Use **sRGB color profile** for accurate colors.